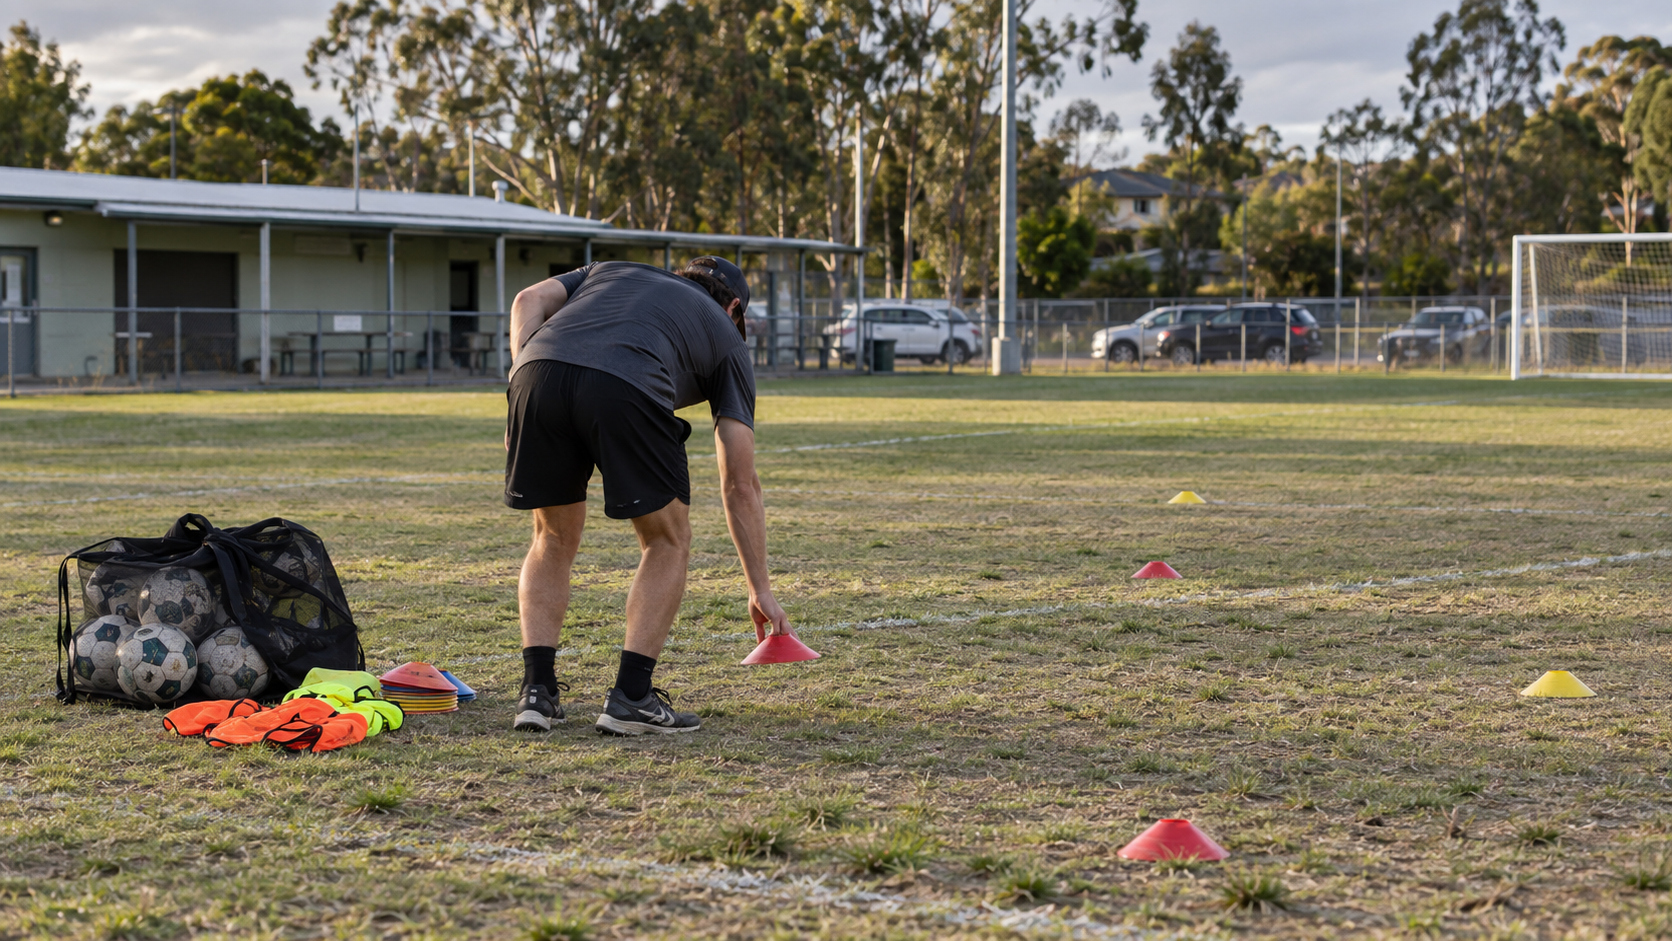
How to set up a football training session
When you coach alone, the layout has to work before the first player arrives and after the last activity finishes. This guide covers the practical job: checking a shared pitch, placing cones, keeping equipment within reach and clearing the field.
1. Check the space before placing cones
Confirm which part of the pitch your group can use and when the next group needs it. Agree boundaries with other coaches. Leave suitable space between activities, away from other teams, walkways and fixed obstacles.
Walk the area and follow your club or venue's procedures for surface hazards, weather and equipment checks. Put bags and spare equipment outside the playing areas, with a clear route for players to reach drinks.
2. Pack for the activities you have planned
Count players, balls, bibs and markers before leaving. Take a pump, spare needles and your session notes. Check the football coaching equipment checklist for a worked 12-player example and a kit list you can print.
3. Mark two working areas
Illustrative layout for 12 players: two groups of six, each using a 20 m by 15 m rectangle. In this example, leave a 4 m gap between grids and mark one 3 m gate on the near side of each grid. These dimensions are an example, not a prescribed session or safety standard. Adjust the space, separation and activities to your players and venue.
Place four corner markers for Grid A, then four for Grid B.
Add two markers to form each gate. That is eight corner markers plus four gate markers: 12 markers in total.
Keep boundary markers one colour and gate markers another where possible.
Put the balls and bibs needed for the first activity beside each grid, outside the playing area.
For individual ball work, the example needs 12 balls. For passing in pairs, six balls are in use. Bring the number needed by the activity with the highest ball requirement, plus any spares you choose to carry.
4. Plan transitions before players arrive
Use the same boundaries for activities that fit the space. Pair passing can become a small-group possession activity without moving every corner. If your next activity needs different dimensions or another target, write down exactly which markers move or which extra equipment is needed.
Pause the activity before changing the layout. Give players a clear waiting place and explain the next task while equipment is being reset. On a shared pitch, keep your changes inside the area agreed with the other coaches.
5. Make pack-down part of the plan
Count balls and bibs against the number you brought.
Collect the gate markers, then the corners. The example layout should return 12 markers.
Return any shared equipment to its agreed storage place.
Check the field and sidelines for loose gear before the next group starts.
Note what was missing or unnecessary so the next kit check is easier.
Where Marcr fits
Marcr is developing a training cone collector and placement tool for coaches who set up and clear their own training areas. The current prototype demonstrates cone placement and collection from a standing position. Final specifications, cone compatibility, pricing and release timing are still to be confirmed.
Get hardware updates or read about Marcr for coaches, clubs and academies.